Facing trouble in resetting your Lexmark printer? Probably, it is the right time to Reset the Lexmark Printer.
But, before we delve into resetting it, there are certain things that one should do. Here they are-:
Your printer needs to go through a restart before resetting it, there have been many instances where the printer automatically acts normally after a slight restart of things.
After restarting it, you can insert a waste sheet in the tray, many times a printer is found to print a test page upon restart.
Essentially ways through which you can Reset the Lexmark Printer. Here they are-:
1st Method
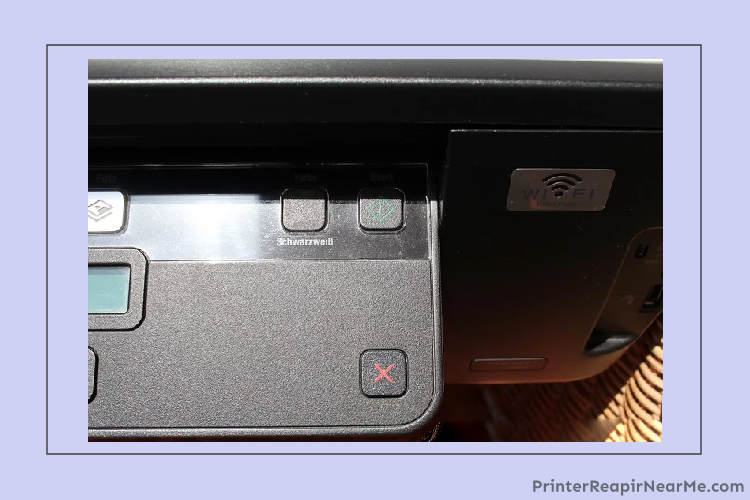
Under the first step, you have to find the location of the cancel button.
Now, you have to press and release the same i.e. you have to hold the cancel button and release it after counting 5 seconds.
After this step, your printer will automatically reset itself.
Next, you will witness the blink of printer lights.
After this step, the automatic restart of the printer will happen.
Your printer has successfully been reset.
2nd Method
You are required to start the Lexmark printer at first.
Turn the printer setting on in the next step.
Now, disconnect and then reconnect your power cable.
Turn on the product and click on the resume for a few minutes.
Let lose the resume button that you held and press the attention button.
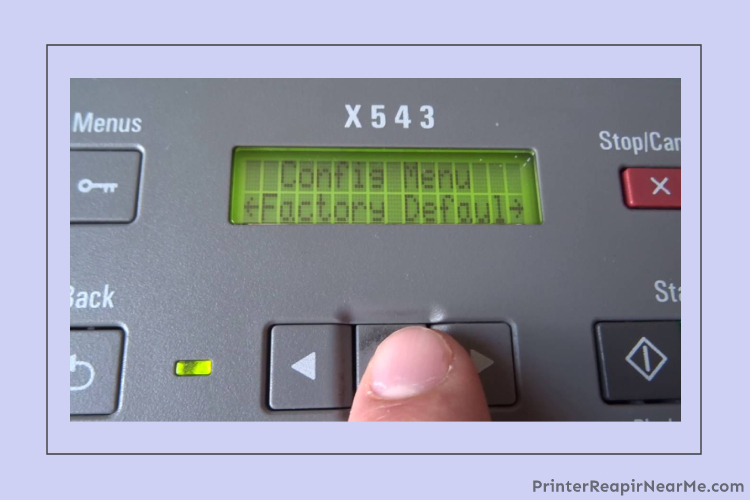
Click on factory defaults button
Click on Okay
The printer is fully reset.
3rd Method
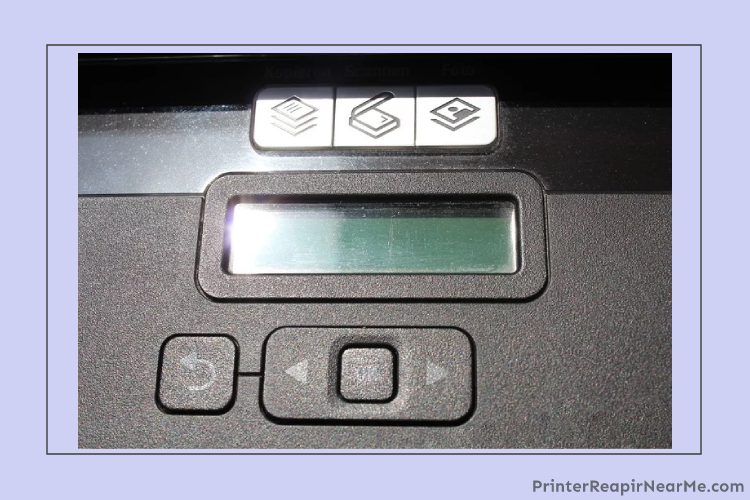
In this step, go to the printer’s home screen.
Click on General Settings and press ok.
Click on Factory Default and then press ok again.
Click on the Restore now button and press ok after that.
4th Method
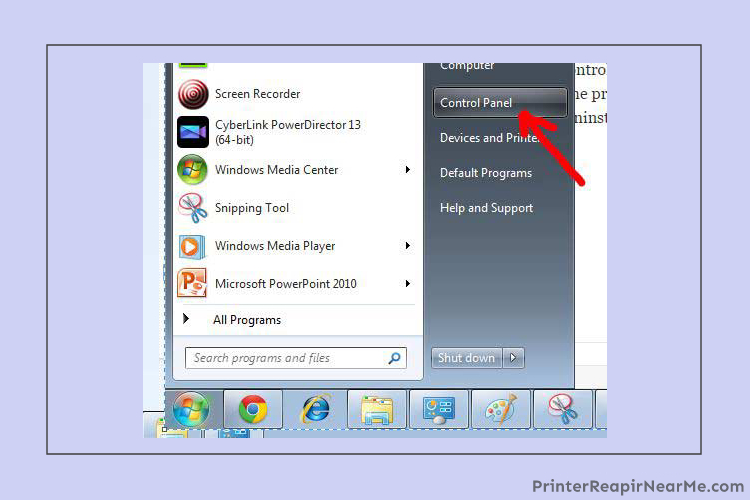
1.Solution Center Method
On the Start Screen click on “Windows Z”
Drag your cursor to the “All Apps” option and click on it.
Now scroll down to Lexmark Heading and Tap on Printer Solution Center.
Click on “Install a new printer cartridge” after selecting the “Maintenance Tab”. Keep on clicking the next button until “Print the Alignment Screen” appears.
The printer has a tendency to automatically detect the new cartridge while clicks are being done on the screen.
To complete the cartridge recognition process click on the print button which will print the alignment page.
After the alignment pages get printed, close all the opened dialogue boxes.
2. Power Button Method
If your printer off then turns it on. After that, remove the black and coloured cartridges from the printer by opening up the top cover. In order to avoid staining, keep the cartridges on a piece of paper.
Now, leave your cover open after turning your printer off and wait for 1 minute. After that, turn your printer back on and see that the lights of the front control panel of printer flashing. This indicates that the print has identified that there are no cartridges inside it.
Now, install each cartridge one by one and wait for the printer to detect each cartridge. It will make a noise to show that. After the printer stops making noises, this indicates that you can use your printer now.
After considering all these 4 methods, we are sure you must have got a clear solution for resetting your Lexmark Printer. We assure you that all these methods are 100% working and safe to use.